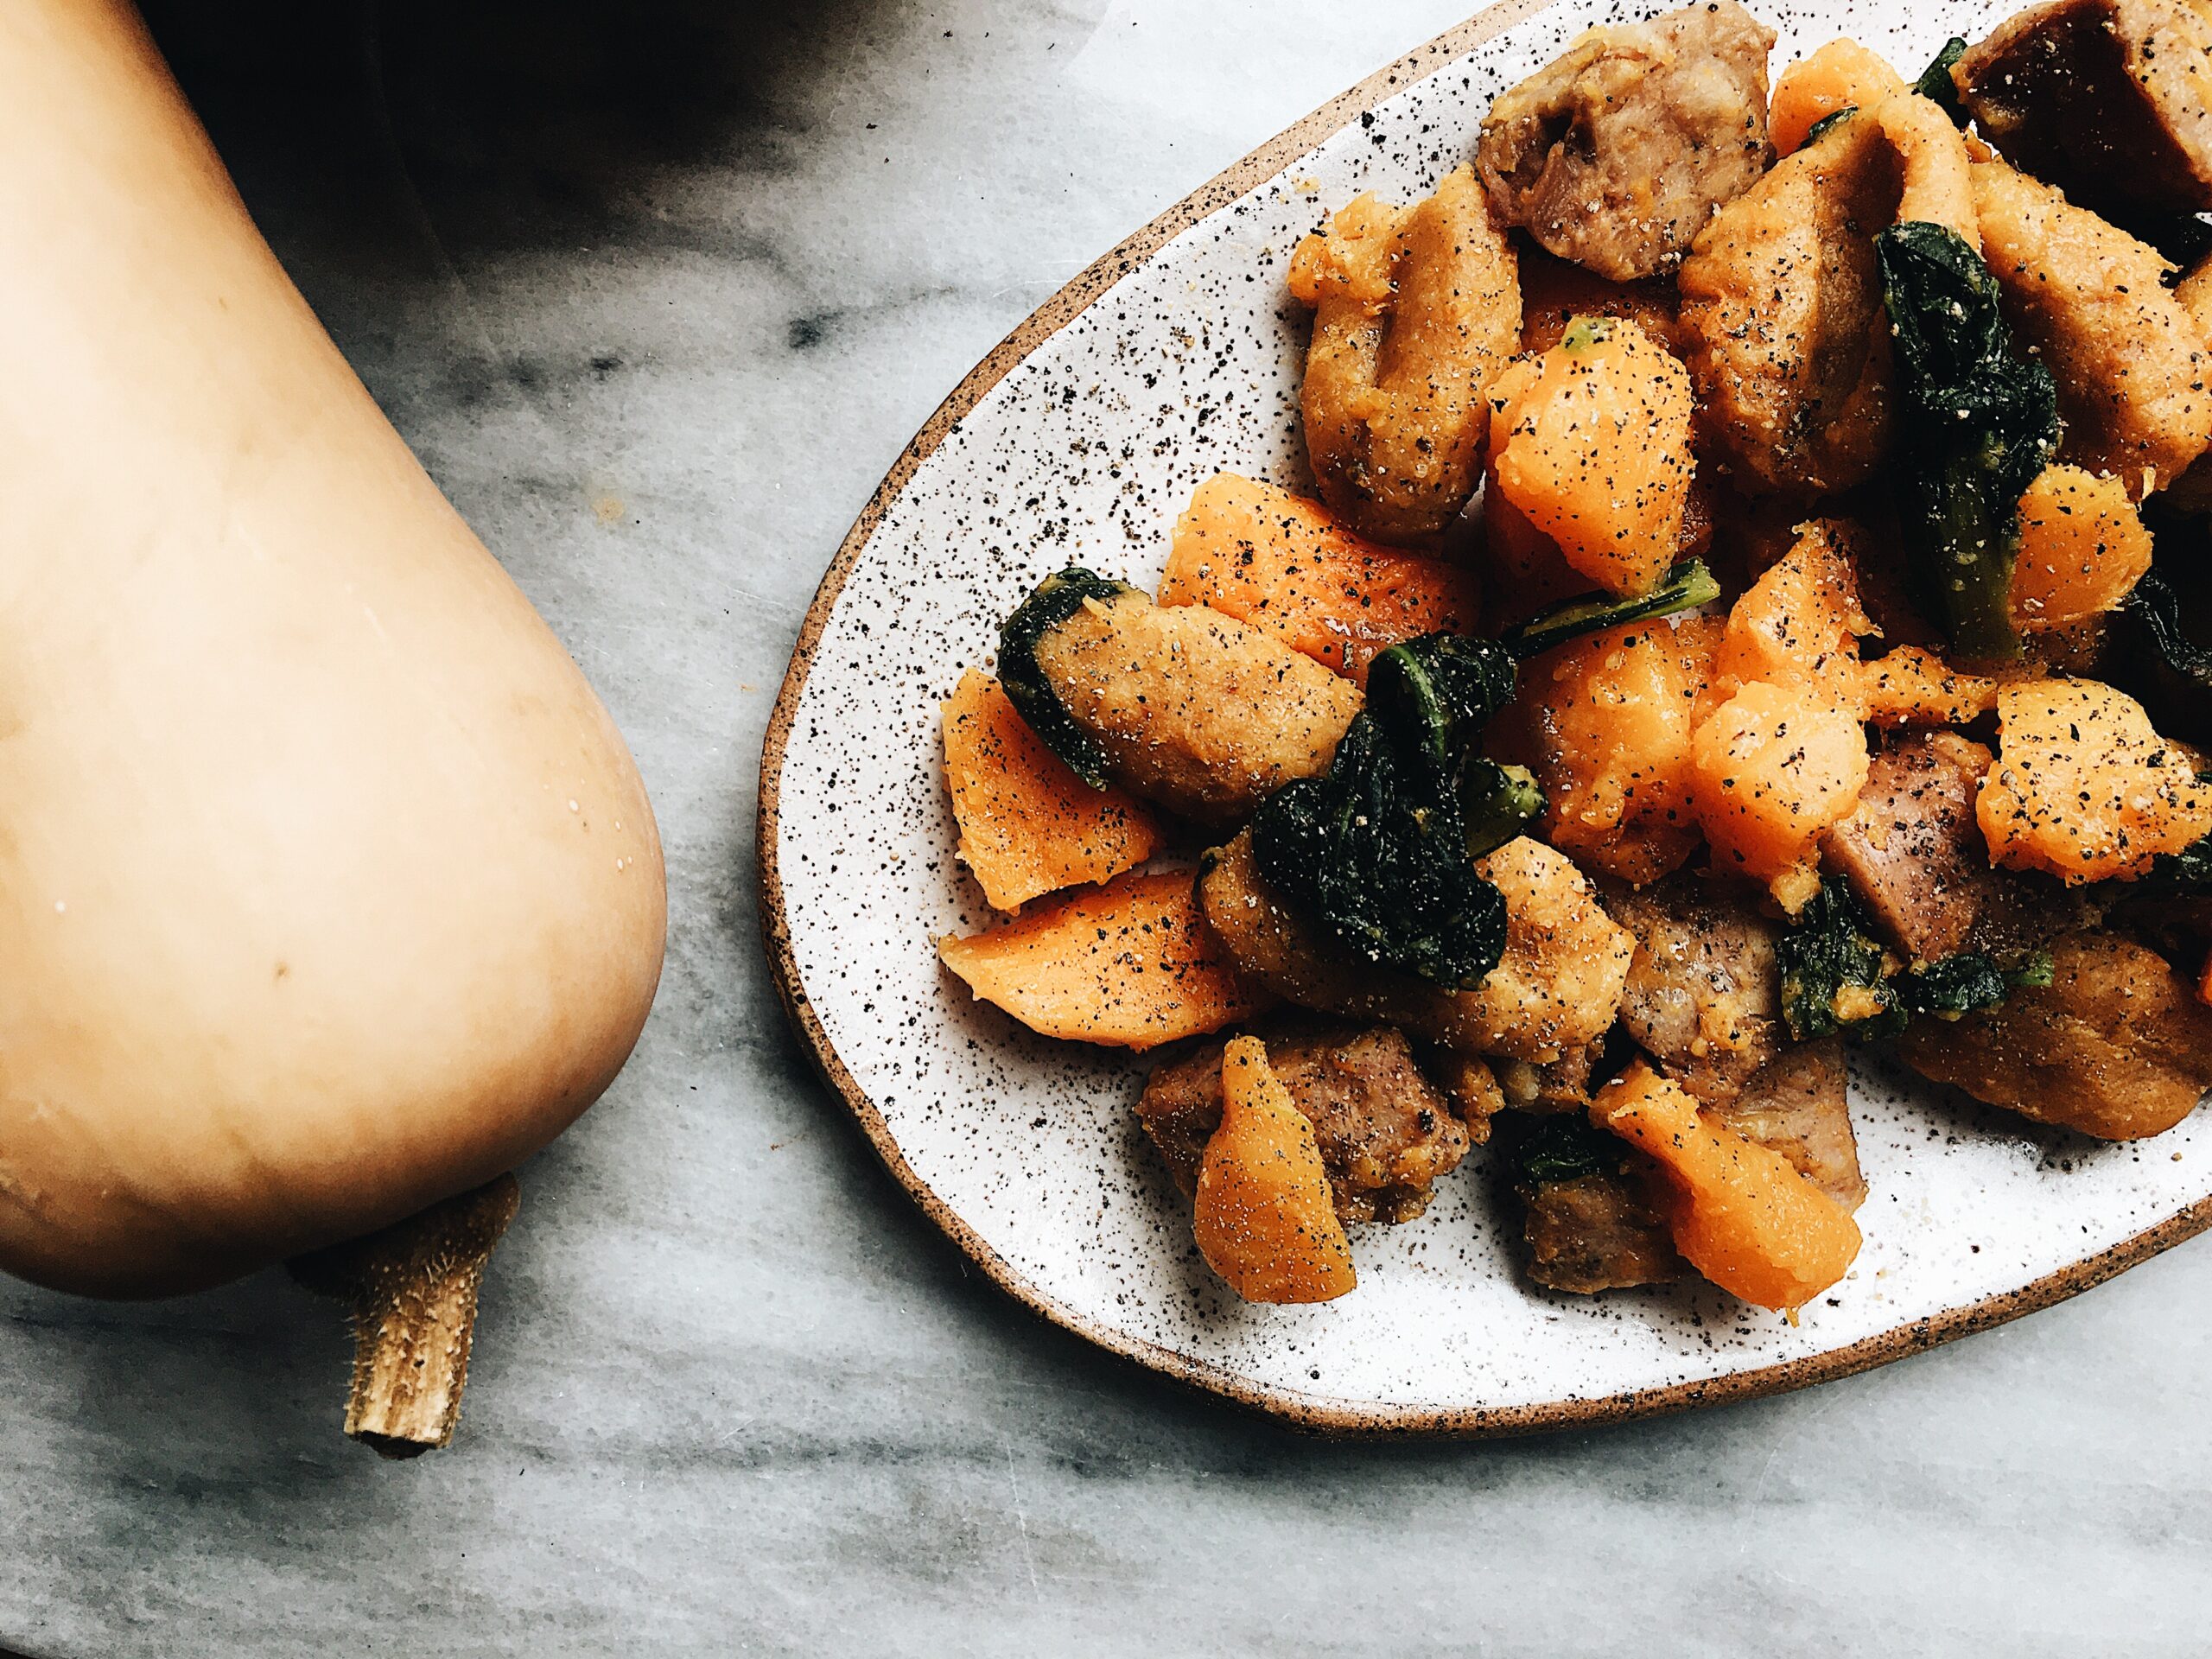
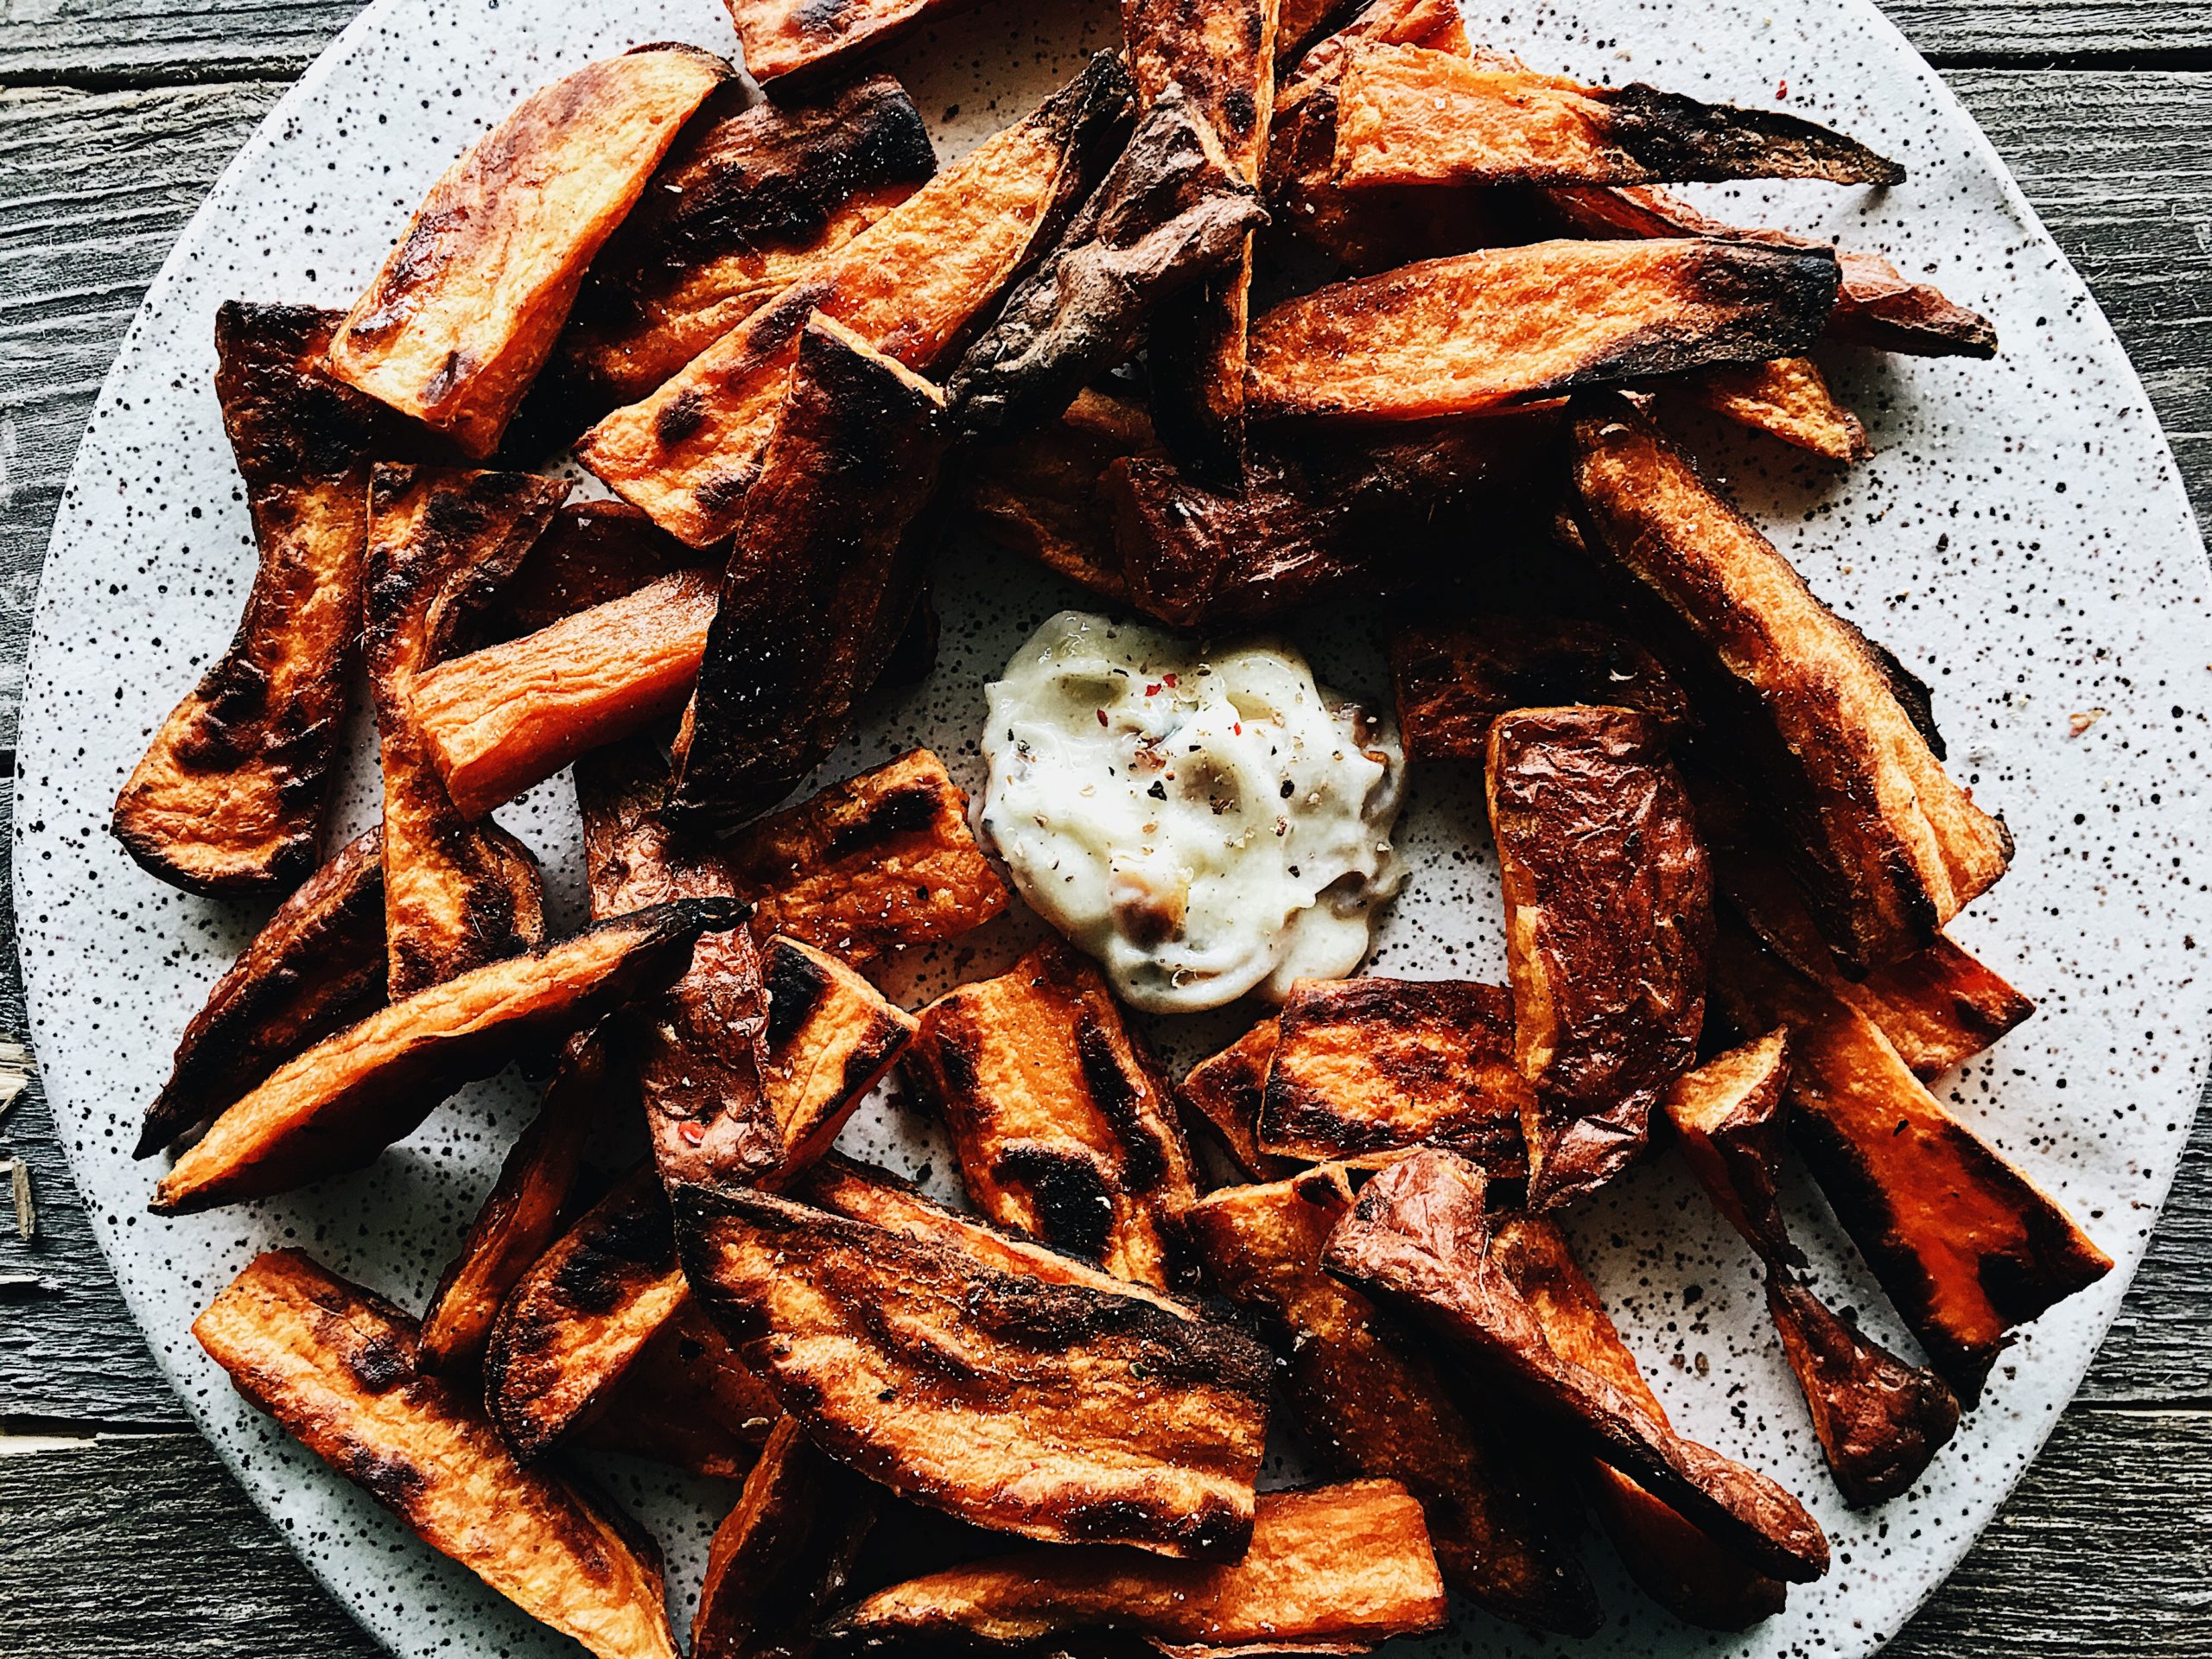
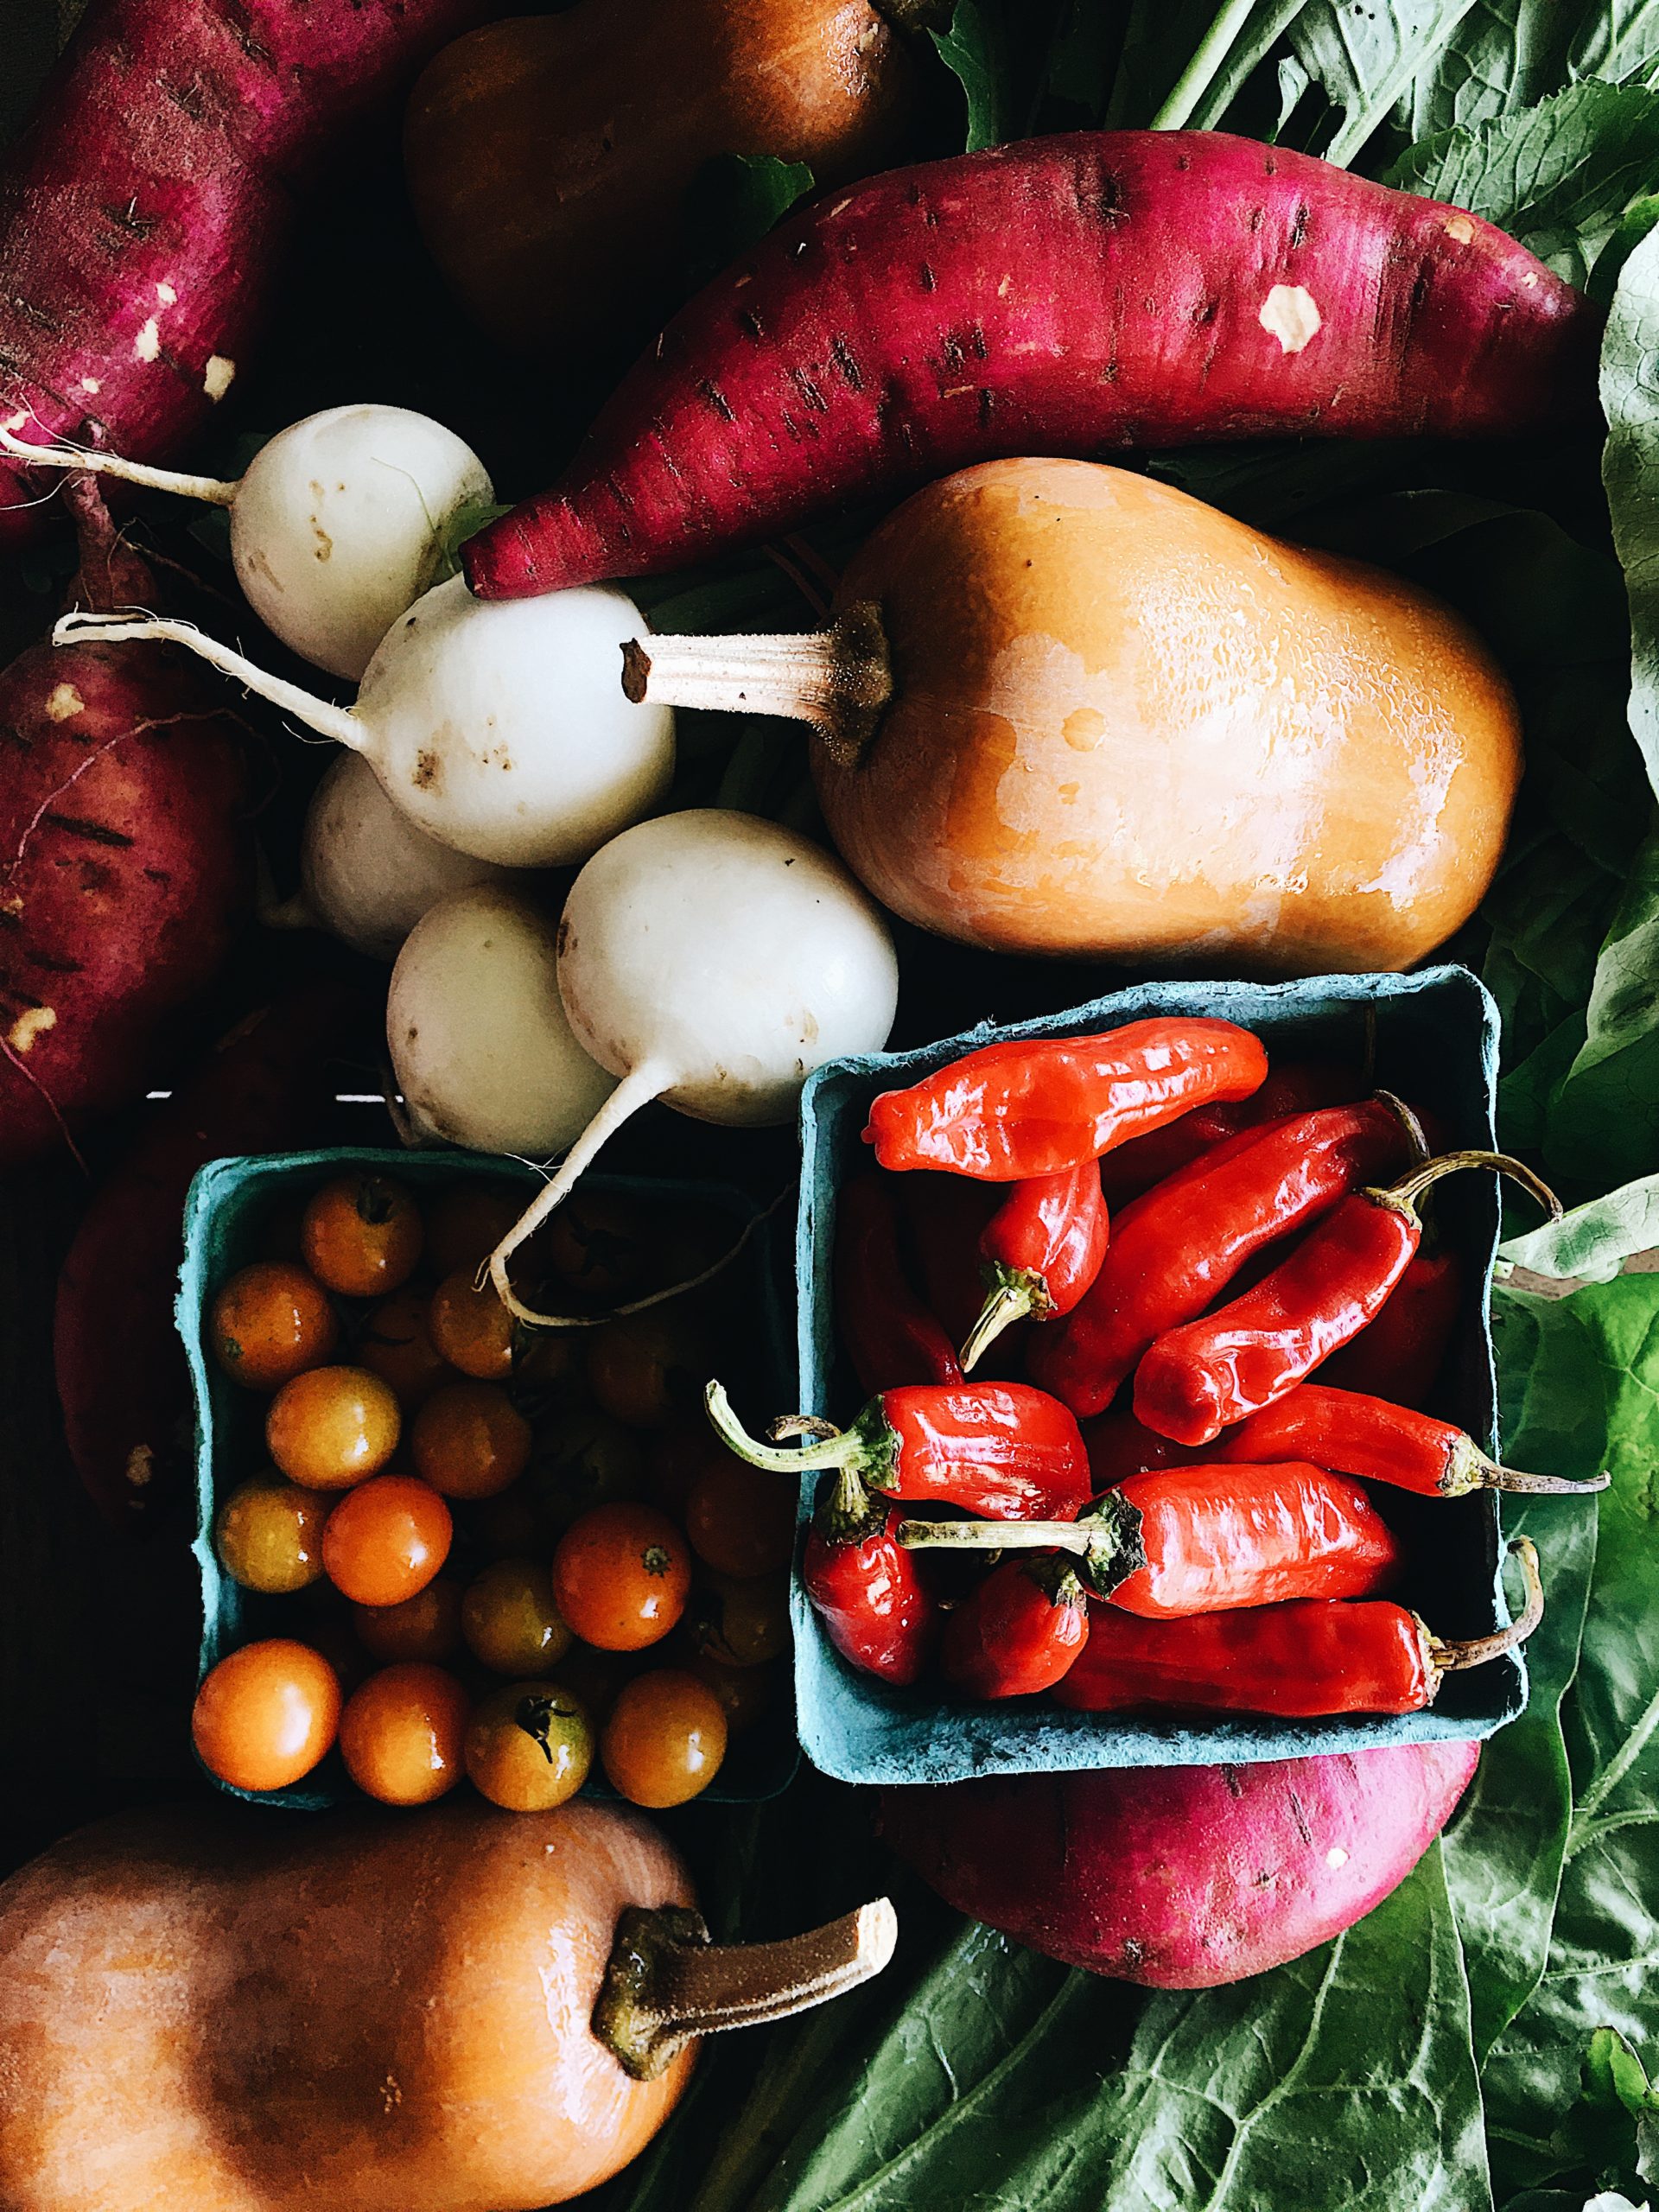
When sweet potato season, cozy fall weather, and football games collide, it’s time to bake up these delicious crispy sweet potato wedges paired with roasted garlic aioli!
This is the perfect comforting fall food that’s a healthier twist over a fried product, and is amplified to the next level with an easy roasted garlic aioli dip. The best part is you can roast the garlic and potato wedges together simultaneously, making this a pretty hands off preparation.
So, when you are in need of a quick appetizer, a light meal (I have definitely eaten these for lunch with no shame), or side dish to your favorite burger, you should give these baked sweet potato wedges a try! I also recommend just making up the garlic aioli if the wedges don’t match your fancy or you don’t have sweet potatoes on hand – just roast up the garlic instead and use the easy aioli on your favorite sandwich or as a dip to your favorite sides. Happy cooking!
Directions
- First, line a sheet pan with parchment paper.
- Rinse and scrub your sweet potatoes, then cut into roughly uniform sized wedges. Peel your garlic cloves (I do cook these whole).
- Next, preheat your oven to 420 degrees Fahrenheit.
- While the oven is preheating, spread potato wedges and garlic on pan and toss with ~2 tablespoons of olive oil. Use your hands to make sure the wedges and garlic are evenly coated in oil.
- Arrange garlic and potato wedges on sheet pan. Try to prevent overlap when possible or spread onto an additional lined sheet pan if needed to ensure even cooking.
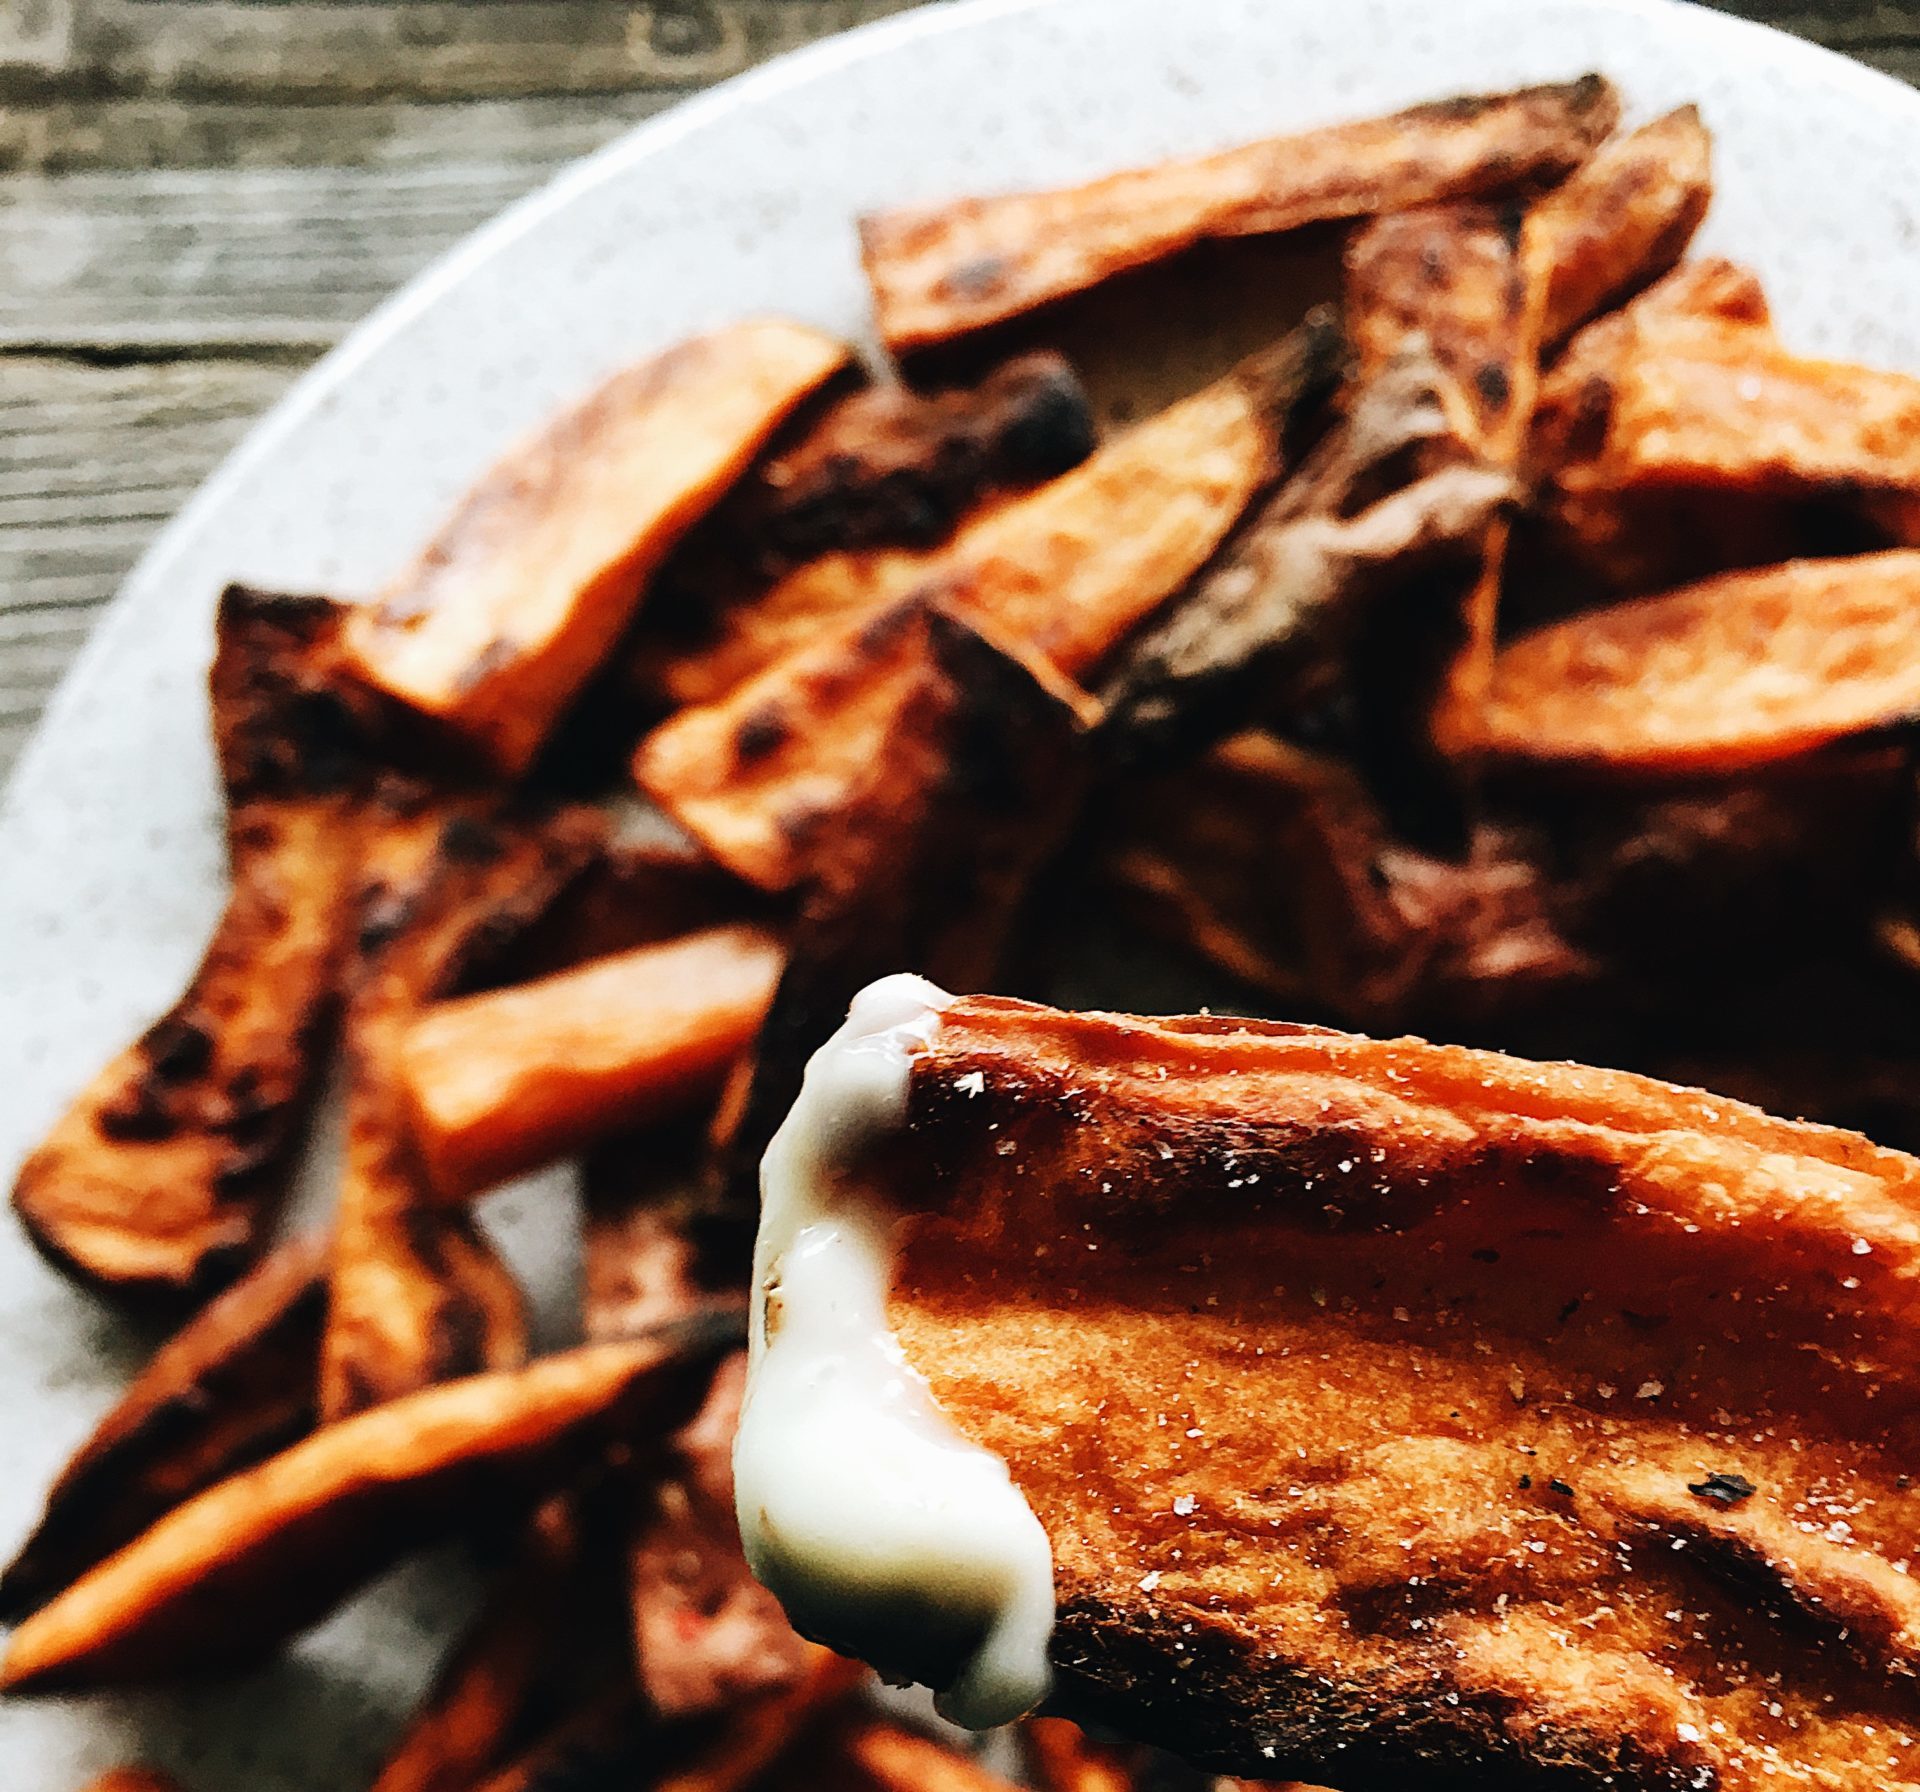
- Cook these on a middle shelf of your oven (if possible) for 15 to 20 minutes (I cooked mine for 20). You should notice light browning.
- Gently flip wedges and garlic, then cook for an additional 10-20 minutes (I cooked mine for 20 minutes because I like extra crispiness/some charring).
- Once fries are done cooking, remove the sheet pan from the oven.
- Remove the garlic cloves first, and mash these with a fork before combining with your mayo. I combine the entire clove, so you will see the bigger roasted chunks from the outer garlic skin.
- Sprinkle everything with seasonings of choice.
- Enjoy warm!
Alysha Melnyk is the Founder and Content Creator of The Kitchenologist©, a food blog dedicated to healthy eating and kitchen experiments. Alysha combined her background in biology with her passion for making food delicious, eye-catching, and accessible. When she’s not cooking in the kitchen or dreaming up a recipe, Alysha works full time as an Implementation Specialist at ECRI, an international medical nonprofit located in suburban Philadelphia that is dedicated to improving patient safety worldwide. Alysha finds her many career passions revolve around the power of knowledge and that equipping people with the right tools and resources will help them make better informed decisions.